Change one detail, keep the rest
Use the brush when you know exactly which area should change. Repaint an eye, a sleeve or a shoe while leaving the pixels around it untouched.
Open a 64×64 skin PNG, paint on the texture and check the 3D preview. Edit and download for free, with no account needed.
 64 × 64 skin PNG
Choose a brush color and paint on the texture. Undo restores your previous stroke.
This Minecraft skin editor lets you paint directly on an existing 64×64 skin PNG. Choose a color, change pixels on the flat canvas and see where they appear on the classic-arm 3D preview. Editing and saving are free, with no account needed.

Use the brush when you know exactly which area should change. Repaint an eye, a sleeve or a shoe while leaving the pixels around it untouched.
Clean up an unwanted mark or a rough edge in a generated skin. You choose the pixels and colors yourself; manual brush work does not use generation credits.
Make a few strokes and check their place on the body. Undo lets you return to an earlier stroke in the current session if the color or position is wrong.
Use the free brush for a known change, such as a different eye color. Choose AI generation when you need a new starting design.
| Method | Best for | You provide | You get | Cost and account |
|---|---|---|---|---|
| Pixel editor | A small change to an existing skin | 64×64 skin PNG and brush strokes | Edited 64×64 PNG | Free; no account needed |
| Text to skin | A character you can describe | An outfit, hair and main colors | 64×64 skin PNG | 10 credits per generation; sign-in required |
| Image to skin | A look shown in a photo or drawing | PNG or JPG reference and an optional note | 64×64 skin PNG | 10 credits per generation; sign-in required |
The editor uses manual brush strokes and currently previews classic arms. Save your PNG before leaving; edits are not saved as a cloud project. View credit packs · Read the import guide
Work on the small rectangles for the head. Change a few eye pixels or tidy the hair edge, then turn the preview to check the side of the face.
The front, back and sleeves sit in separate parts of the texture. Paint each area that needs the new color so the shirt does not change on only one side.
Add a short stripe or recolor the boot areas a few pixels at a time. Rotate the character to see whether the mark continues where you expect.
The canvas lays out the front, back and sides of each body part as flat rectangles. A pixel on one rectangle may sit next to a different rectangle when it wraps around the character. Make a small test mark, rotate the preview to find it, then undo it.
Select a brush color and draw on the flat canvas. Each stroke changes the texture pixels; there is no automatic fill tool.
Use the character to find where a painted area sits on the body. Drag to see a sleeve, the back of the head or the side of a boot.
Undo can restore up to 40 saved stroke states in the current session. Save a PNG when you want to keep a version of your work.
Choose a sample and open it directly in the free editor to paint your own changes.
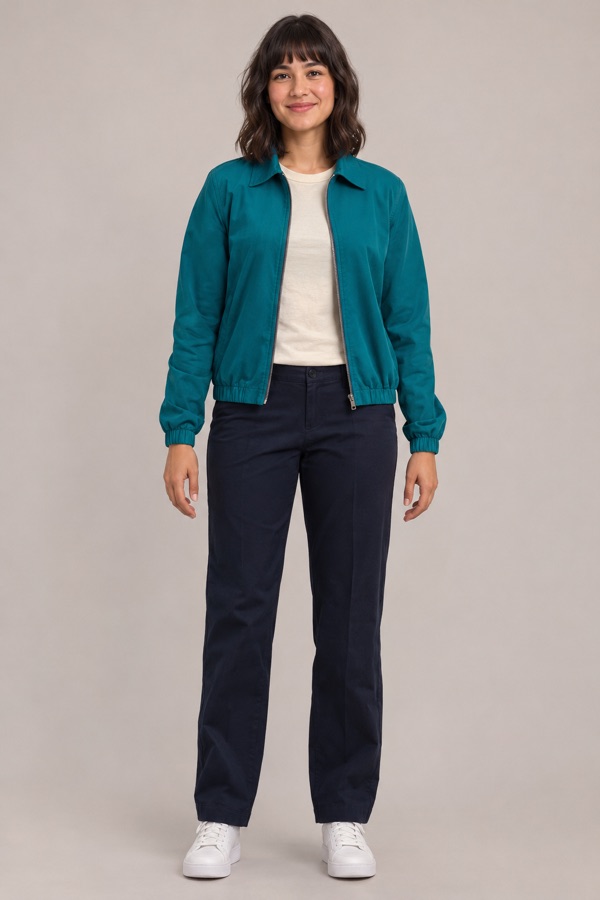
AI-made reference photo and the skin generated from it with MC Skin Maker. Classic arms.
Input: View AI-made reference photo
Prompt: Keep the person’s hair, jacket, shirt, trousers and shoe colors from the reference photo. Use the same outfit on the back.
Output: 64×64 PNG skin texture. The full-body preview above is rendered from this file.
 Download 64×64 PNGEdit this skin →Try this image and prompt →
Studio sample skin for exploring the texture and 3D preview. Not a player submission.
Output: 64×64 PNG skin texture. The full-body preview above is rendered from this file.
 Download 64×64 PNGEdit this skin →
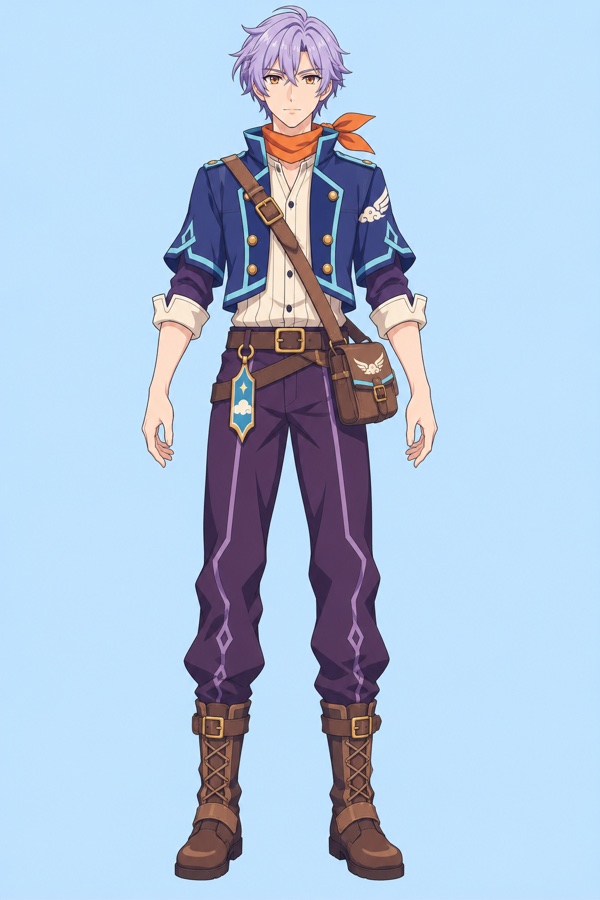
Original AI-made character art and the skin generated from it. Classic arms.
Input: View original character art
Prompt: Keep the person’s hair, jacket, shirt, trousers and shoe colors from the reference photo. Use the same outfit on the back.
Output: 64×64 PNG skin texture. The full-body preview above is rendered from this file.
 Download 64×64 PNGEdit this skin →Try this image and prompt →
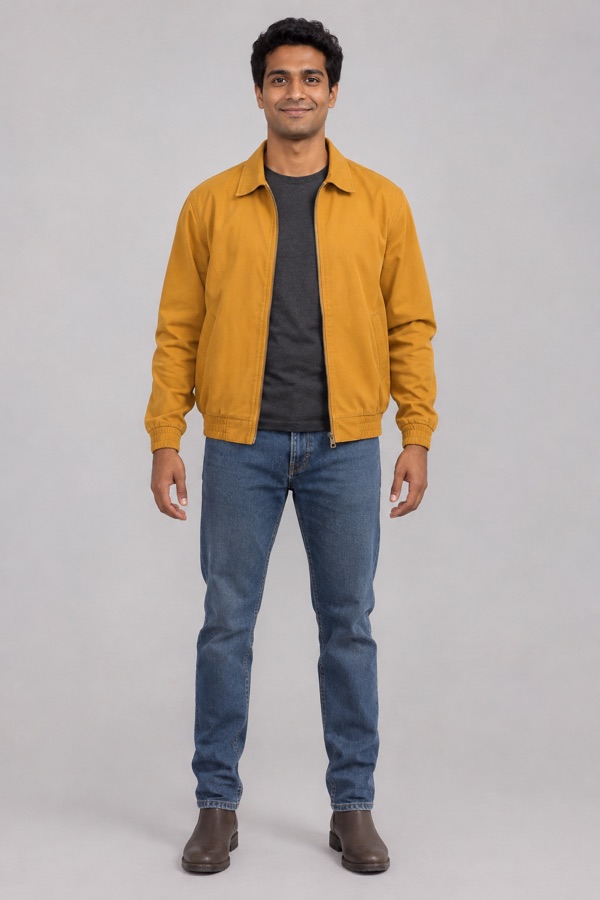
AI-made reference photo and its generated skin. Classic arms.
Input: View AI-made reference photo
Prompt: Keep the person’s hair, jacket, shirt, trousers and shoe colors from the reference photo. Use the same outfit on the back.
Output: 64×64 PNG skin texture. The full-body preview above is rendered from this file.
 Download 64×64 PNGEdit this skin →Try this image and prompt →
Studio sample skin with a cream suit and gold visor. Not a player submission.
Output: 64×64 PNG skin texture. The full-body preview above is rendered from this file.
Download 64×64 PNGEdit this skin →Studio sample skin for checking armor colors and pixel details. Not a player submission.
Output: 64×64 PNG skin texture. The full-body preview above is rendered from this file.
Download 64×64 PNGEdit this skin →Studio sample skin. A dark outfit with a bright pumpkin design.
Output: 64×64 PNG skin texture. The full-body preview above is rendered from this file.
 Download 64×64 PNGEdit this skin →
Studio sample skin. A bright blue shirt with short sleeves.
Output: 64×64 PNG skin texture. The full-body preview above is rendered from this file.
 Download 64×64 PNGEdit this skin →
Studio sample skin. Brown travel clothes with a shoulder strap.
Output: 64×64 PNG skin texture. The full-body preview above is rendered from this file.
 Download 64×64 PNGEdit this skin →
Studio sample skin. A red coat with white trim and a dark belt.
Output: 64×64 PNG skin texture. The full-body preview above is rendered from this file.
 Download 64×64 PNGEdit this skin →
Studio sample skin. A green jacket with dark trousers.
Output: 64×64 PNG skin texture. The full-body preview above is rendered from this file.
 Download 64×64 PNGEdit this skin →
Studio sample skin. Green outdoor clothes and dark boots.
Output: 64×64 PNG skin texture. The full-body preview above is rendered from this file.
 Download 64×64 PNGEdit this skin →
Open your 64×64 skin PNG or send a generated skin to the editor. Keep the original file so you have an unchanged copy.
Choose a color and make a short stroke on the flat canvas. Check its position on the character before painting a larger area.
Use Save PNG to keep the current texture. To keep several versions, download each one before making more changes.
A manual edit is useful when you can point to the part you want to change: a wrong eye color, a mark on a sleeve or shoes that should match a team outfit. You control the change one stroke at a time.
Start with a small area and check where it sits on the 3D character. If you want a completely different outfit or character, a new generation may be a better starting point than repainting the whole texture.
Your canvas and undo history belong to the current editing session. Closing or refreshing the page does not save a project. Use Save PNG while the changes you want are still on screen.
Keep the original PNG and save your edited version as a separate file. Use the 64×64 PNG when changing your game skin; a screenshot of the preview cannot replace it.
No. Pixel editing, the 3D preview and PNG export can be used without signing in.
No. Editing and saving PNG files are free. AI generation is a separate paid action.
Yes. Use Open a skin PNG and select a 64 × 64 PNG file. Other dimensions are not supported by this editor.
The editor currently previews the classic body model. The generator supports classic and slim exports, but slim-specific editor preview controls are not available yet.
Yes. Undo restores earlier brush strokes in the current session, with up to 40 saved stroke states.
No. Download the edited PNG before leaving or refreshing the page. Your current canvas and undo history are not a cloud-saved project.
Open your PNG and try one small change, such as a new eye color or a stripe on a sleeve.